Day 13 “CLOSING REFLECTION”
Student Trip Blog

Student Trip Blog
instructions for Global Glimpse trip leaders and students to use when writing blog posts.
Steps:
1. After you log in, create your new blog post by navigating to the left-hand side menu and selecting “Add New”.

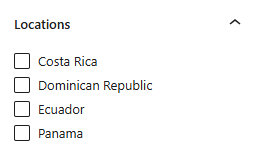
2. Select the country your blog post is associated with from the right-hand side menu
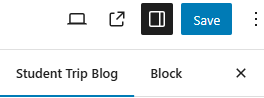
At the top right-hand side of your screen, make sure that you’re “Settings” button is toggled on. From the two options “Student Trip Blog” or “Block”, select “Student Trip Blog”.
Under “Locations”, select the box next to your country.
3. Title your blog post
At the top of your screen.
4. Add Author Name
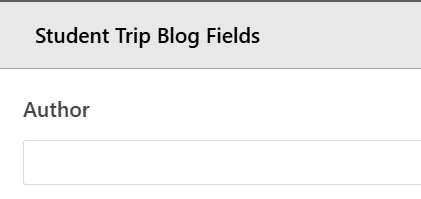
Enter the names of the author(s) in one of the following formats,
5. Enter in your blog content (Text and Images)
Adding Blocks:
Hover over an empty space in the blog post until a plus sign appears. Click on it.

Select block that you’d like to add (Paragraph or Image)

6. Click Publish
At the top right-hand of your screen.
7. View Your Published Blog
Go to the Student Trip Blogs webpage to see what your post looks like!
8. To Make Edits to your Block
Click “All Student Trip Blogs,” and the list of the student trip blogs will appear. Select edit next to your blog post.